
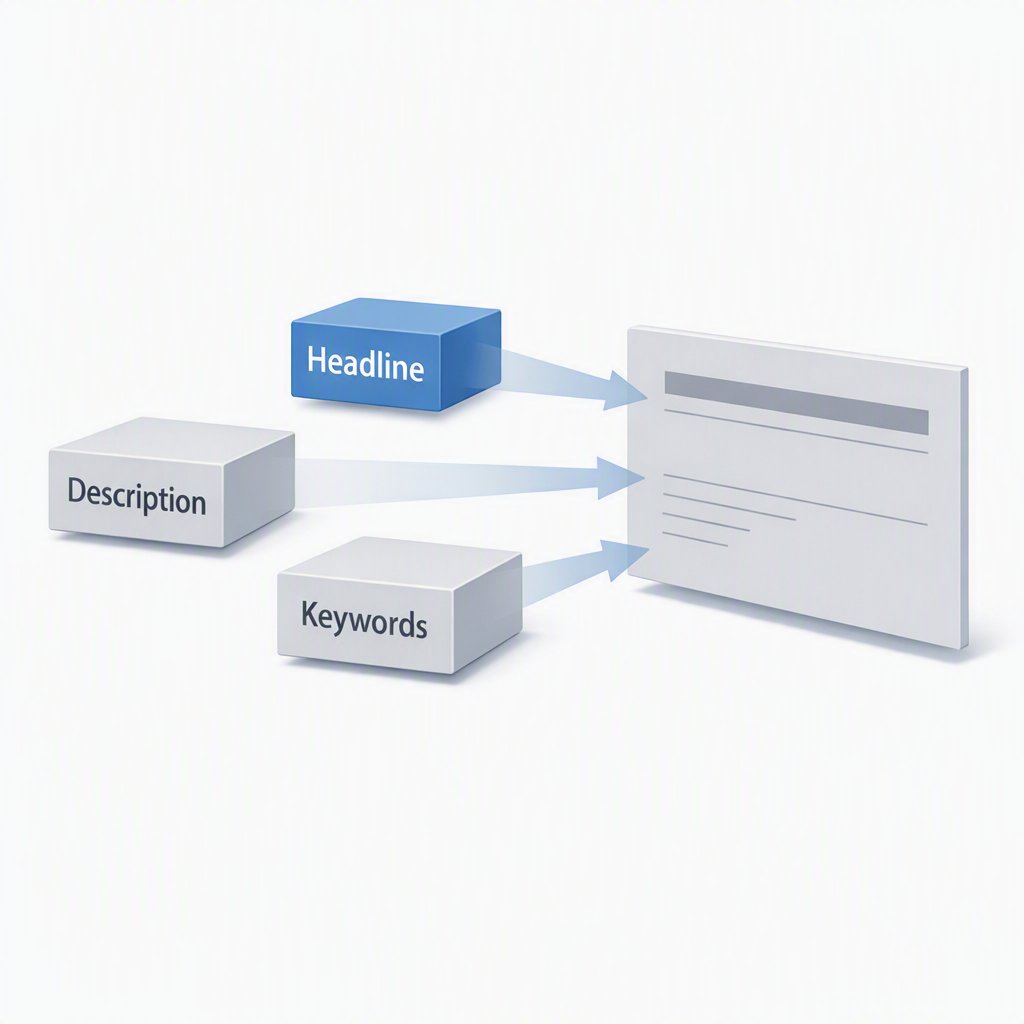
Create Custom Metadata Panels in IMatch with My Panel
My Panel is a flexible IMatch 2026 feature for building custom metadata displays for images and other digital assets. This article shows how to create a My Panel, add metadata rows, use simple table layouts, style the output with HTML, and add Favorites for quick access to common actions.
IMatch offers several ways to display metadata for images and other digital assets:
- Metadata Panel
- Keywords Panel
- File Windows
- Overlays in the Peek View and the Viewer
Each of these features is customizable by the user – because different users have different preferences and requirements.
My Panel
To create your own custom panel, use IMatch’s unique My Panel feature. My Panel provides a flexible space where you can display the information you care about, as long as the data is available through IMatch variables.
My Panels use modern HTML technology, much like websites. This gives you extensive control over how information is displayed.
Customizing a My Panel
IMatch provides four My Panels, which you can freely style, size, and position. To open a My Panel, use View menu > Panels > My Panel.
My panels use the same instructions and formatting features available in overlays.
This screenshot shows an example of a user-defined My Panel. It displays the XMP headline, description, and keywords at the top. Below that, it shows technical details such as the file name, shooting data, and lens data.
The example also includes a globe icon to indicate whether the image has GPS data, and it displays the file’s rating and label using star icons and a colored bar that matches the label color. At the bottom, the panel displays the categories the image is assigned to.
All of this is completely user defined and easy to change.
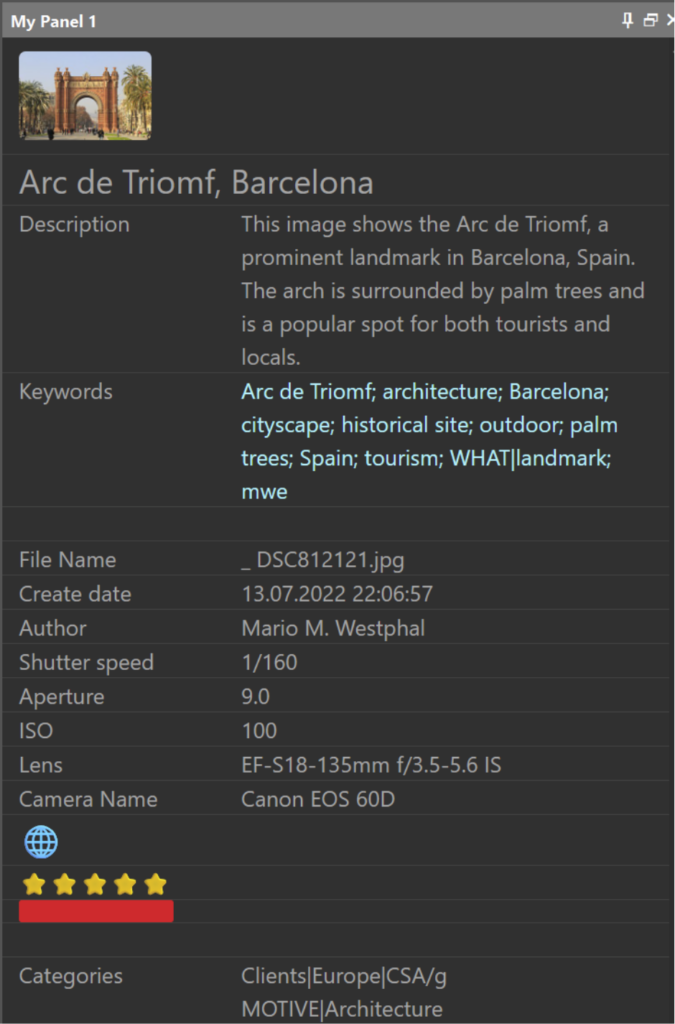
To customize a panel, click on the gear icon visible at the bottom of the panel. This opens the My Panel editor.

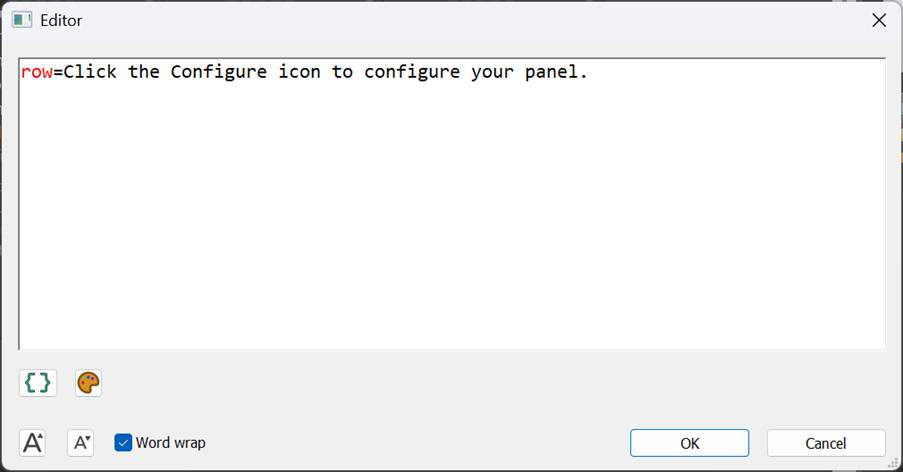
A new My Panel starts with a single row that shows a prompt for editing the panel. The row= instruction creates a row, and the content after the equals sign defines what the row displays.
Creating a My Panel from Scratch
Let’s change that and display the headline instead:
-row={File.MD.headline}
After closing the editor with OK, the My Panel displays the XMP headline of the selected image:
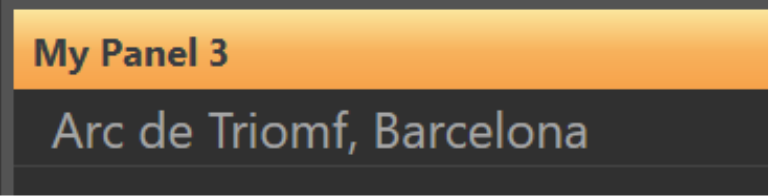
The text is rendered in the default font and font size of My Panels.
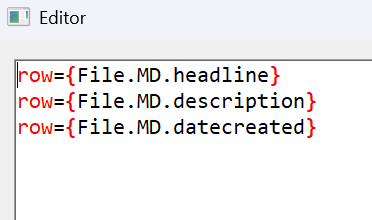
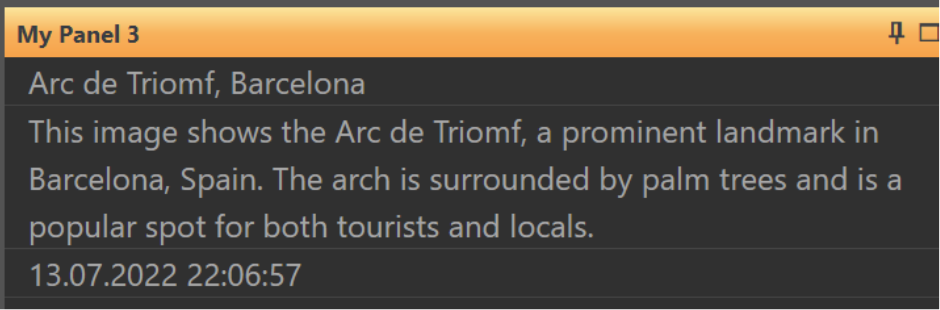
To display more information, just add more rows:
Use Tables
To present data as a table, use the special $$ token to separate columns:
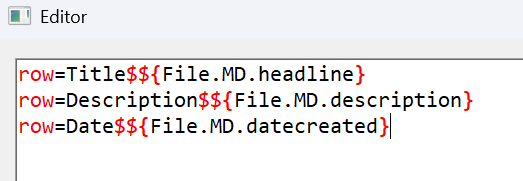
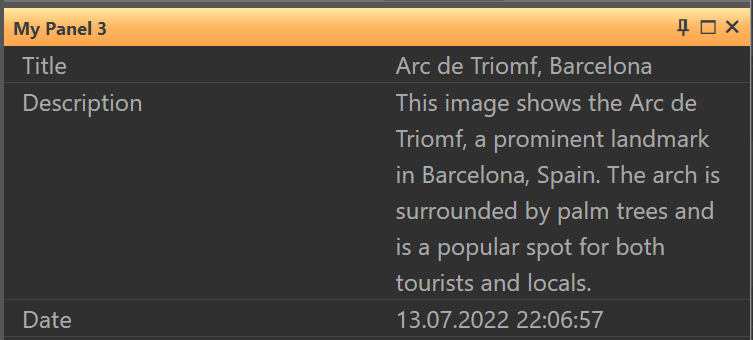
My Panel by default uses equal column widths. For two columns this results in each column occupying 50% of the panel width.
To change the column widths, use the grid system implemented by My Panel and described in detail in the Overlays help topic. In this example, we tell the panel that the first column should use 3/12 of the available width, or 25%:
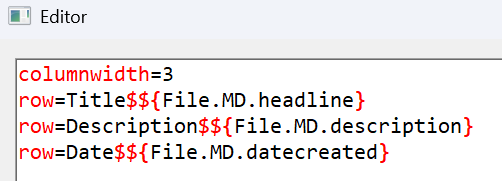
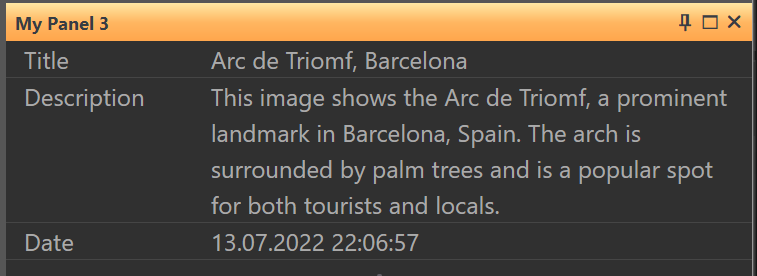
The label column now leaves more room for the metadata. columnwidth= is a frequently used shortcut for setting a global width for the first column. My Panels also allow custom widths for individual columns in a row, which gives you very flexible layouts when you need them.
Styling My Panels
As stated in the introduction, My Panels use HTML to present text. A My Panel is basically a modern web browser embedded in an IMatch Panel. IMatch takes care to update the panel when needed (e.g., when metadata changes) and the user controls what to display in the panel, and how.
If you are satisfied with the default fonts and colors used by My Panel, just add the rows and variables that display the information you want to see, in the order you want to see it.
If you want to style My Panel content, you can use standard HTML styles to control how the information is rendered.
The Overlays help topic explains styling in great detail, and contains many examples and references to online documentation for HTML styles.
Let’s say you want to display the headline in a larger font. Wrap the headline variable in an HTML span element and specify the font size in pixels, points, rem, or any other HTML unit you prefer.
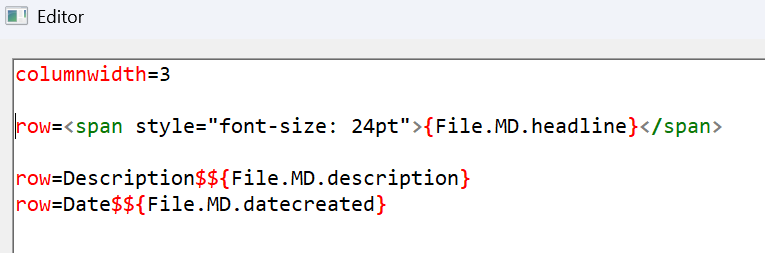
<span></span> is a standard HTML tag. The style=”” attribute inside the opening span tag lets you apply a wide variety of styles. Here, we define the font size as 24pt. We also remove the first column so the title spans the entire row:
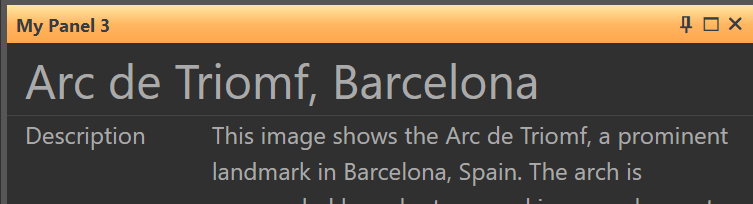
If we would like to change the color as well as he font size, we would add a color: style:

The My Panel now shows:
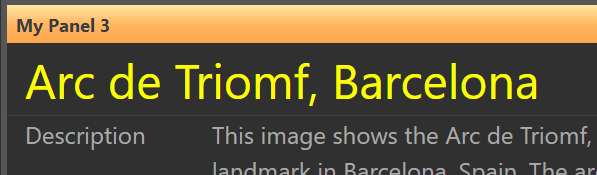
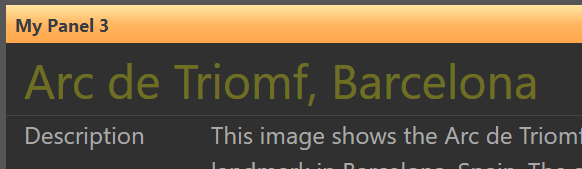
Colors can be specified in many ways, from named colors such as yellow to hexadecimal color values such as #ffff00 and rgba values that also control opacity. For example, rgba(255,255,0,0.3) renders the headline in yellow with 30% opacity:
Changing the Font Family
In addition to specifying custom colors and sizes, you can also change the default font family used by My Panels to any font available in your Windows installation.
Tip: Use the Personalization > Fonts section in Windows settings to see all fonts installed on your system and their names.
We’ve used Comic Sans MS for a quick test and added a font-family property to the span wrapping the headline variable:

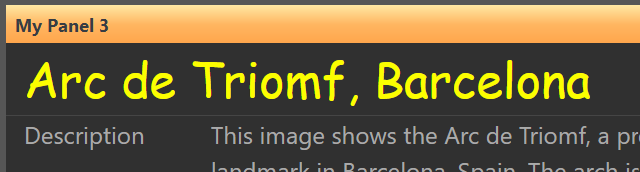
This is how you style information in a My Panel. If you have never used HTML before, it may look a bit unusual at first. But it quickly becomes second nature to wrap variables in <span></span> when you want to style the text.
There’s More!
Using <span> to control font size, family, and color is only one of the formatting options HTML offers and My Panels support.
Borders, background colors, icons, images, and even animations can be used to refine how a My Panel presents data.
See the Overlays help topic for more information and examples.
Adding Favorites to My Panels
Favorites are an IMatch 2026 feature that allows you to assign files to categories, move and copy files, run Metadata Templates, assign persons to files and even run complete automation workflows with the click of a button or a custom keyboard shortcut. A big time saver feature in IMatch and well worth a look if you haven’t used them before.
IMatch users often rely on Favorites to reduce manual work and speed up file processing. In addition to the Favorites Panel and the option to add frequently used Favorites directly to the File Window ribbon, My Panels offer another flexible way to show and access the Favorites you use most.
IMatch 2026 adds support for running Favorites from My Panels. You can include simple hyperlinks or style Favorites as buttons or icons. You can add Favorites alongside metadata, or create dedicated Favorites panels that show many actions in a compact space:
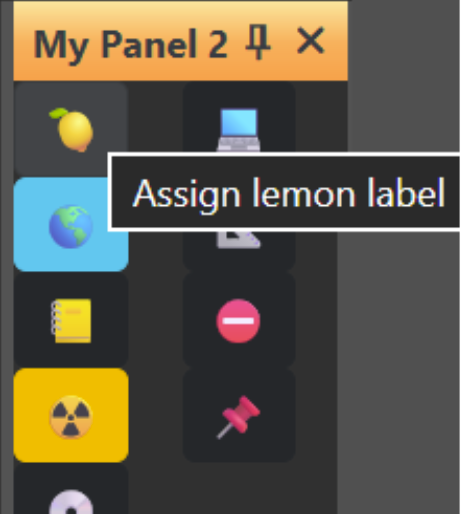
This is just another use of My Panels in IMatch. See the Overlays help topic for details and examples.
Summary
With My Panels in IMatch, you can create and style custom metadata displays for your files. My Panels show exactly the information you want to see, in the layout that works best for you. Because My Panels use the same technology as overlays, you can reuse rows and styles between both features.

Mario M. Westphal is the developer of IMatch, the digital asset management system (DAM) for Windows. He has a strong background in software development and photography, gained through working for over 30 years in the field for many clients. His special interests are photography, music. literature and of course software development, with a strong focus on digital asset management, database systems and image metadata. He hails from Germany.
You can reach him in the IMatch user community and via support@photools.com.