Easily Add, Remove and Replace Keywords with Metadata Templates
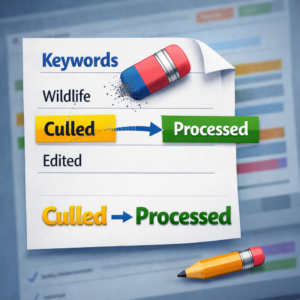
Easily Add, Remove and Replace Keywords with Metadata Templates Metadata Templates and Favorites in IMatch can make it much easier to add, replace, and remove keywords quickly. A common use case is tracking workflow stages across multiple applications when not all of them support standard XMP labels. Workflow Keywords Consider a simple set of workflow […]
Easily Add, Remove and Replace Keywords with Metadata Templates Read More »